Is your laptop looking a bit grimy lately? Don’t worry, we’ve got you covered! At Nimble Nerds, we know that a clean laptop isn’t just about aesthetics – it’s crucial for maintaining performance and longevity. Did you know that a dirty laptop can run up to 10°C hotter than a clean one? Yikes! But fear not, because we’re here to guide you through the process of giving your trusty machine a proper cleanup.
Whether your laptop needs a deep clean, a fresh start, or full repairs, our friendly Sydney techs can help bring it back to life. Get expert service that keeps your device running like new.
Learn About Our Laptop Repair ServicesWhat You’ll Need: A Tech Pro’s Supply List For a Clean Laptop

With laptop cleaning, I learned that having the right tools makes all the difference. You may be tempted to clean your laptop with just a window cleaner and paper towels, or what you have on hand, but trust me, it is best to do this with the proper supplies.
Let me share my go-to cleaning kit that I’ve refined over years of trial and error. First up, you’ll need a soft microfiber cloth (two, at least). Those cheap multipacks might seem like a good deal, but they can leave tiny scratches on your screen. I learned that the hard way back when I was just starting out.
Next, grab a can of compressed air with a straw nozzle attachment. Here’s a pro tip: store the can upright for 24 hours before using it, and never shake it. I’ve seen some nasty liquid propellant accidents from improperly handled cans. You’ll also want some 90%+ isopropyl or rubbing alcohol, cotton swabs, and water. And please, for the love of all things tech, skip those all-in-one cleaning kits from the dollar store. I can’t tell you how many corroded keyboards I’ve had to replace because of those.
Do You Need Professional Laptop Cleaning?
Answer these questions to determine if your laptop needs professional attention.
Performance Issues
Physical Condition
Environmental Factors
Maintenance History
Analysis Result
Creating Your Cleaning Solution
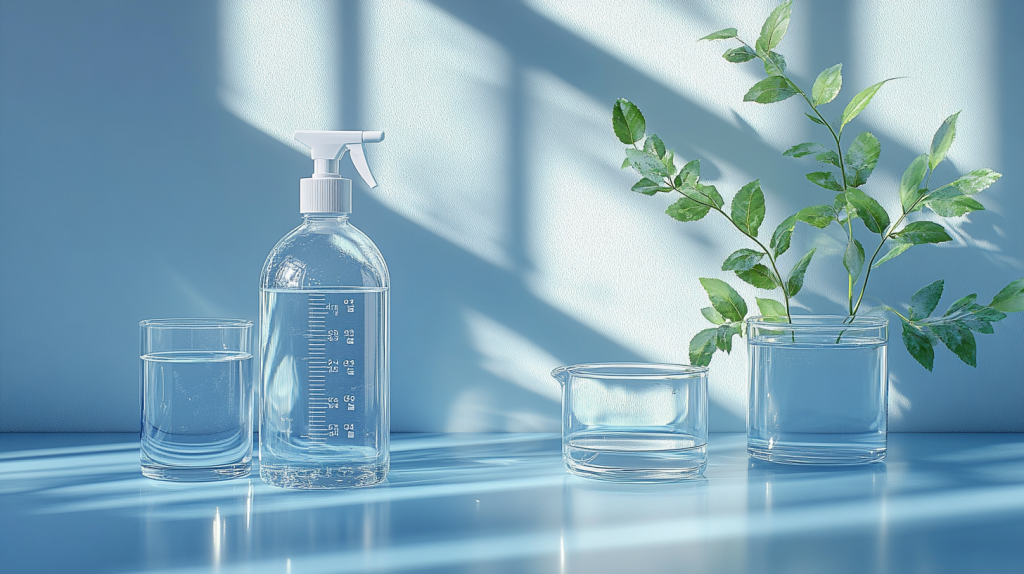
Here’s my tried-and-true mixture that’s safe for most laptop surfaces: mix one part 90% isopropyl or rubbing alcohol with one part distilled water in a small spray bottle. Never spray directly on your laptop though, as this can get moisture inside, but always apply it to your microfiber cloth first. I keep this mixture on hand for those stubborn dirt and greasy spots that seem to appear magically on laptop palm rests.
Safety First: Getting Your Laptop Ready for Its Spa Day
First things first, before you start to clean your laptop, save every file you’re working on and perform a proper shutdown – not just closing the lid or putting it to sleep. Once it’s powered down, make sure you unplug your machine and other accessories from the power source.
Important Steps Before Cleaning Your Laptop
If your laptop has a removable battery (becoming rare these days, I know), go ahead and take it out. Can’t remove the battery? No worries – just make sure your laptop’s been off for at least 30 minutes to cool down completely.
Find yourself a clean, well-lit workspace – and please, not the kitchen table while you’re eating lunch. You’d be surprised how many times I’ve had to extract sandwich crumbs left on the keyboard keys and USB ports during what should have been simple cleaning jobs. Lay out a fresh towel or a large microfiber cloth as your work surface to collect all the debris and dirt, and arrange all your cleaning supplies within easy reach.
Tackling the Outside: More Than Just Aesthetics
Let me tell you something I’ve learned after years of laptop maintenance – that grime stuck in there isn’t just unsightly, it’s actually hurting your device’s performance. I’ll never forget the laptop that came into my shop running at 95°C because its owner thought external cleaning “wasn’t important.” Once we cleaned those clogged cooling vents, the temperature dropped by 20 degrees!
Start cleaning with your microfiber cloth completely dry – this is crucial. Gently wipe your soft cloth around the laptop’s lid, palm rest, and bottom panel using gentle circular motions. You might be tempted to press hard on those stubborn spots, but resist that urge! Keeping a laptop clean needs patience and time, but its results go a long way.
The Hidden Danger Zones
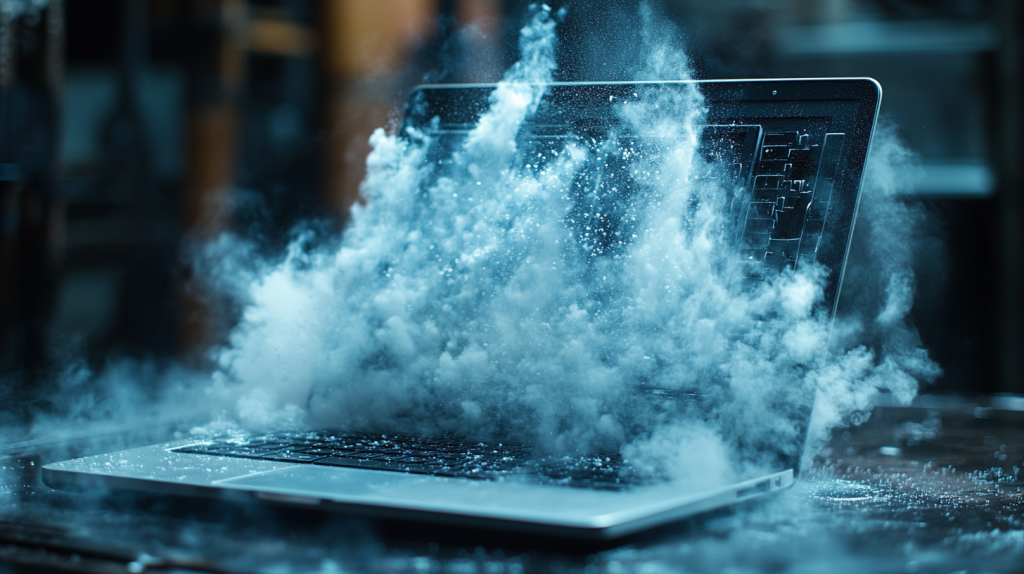
Now, let’s talk about those vents and ports – they’re the secret trouble spots most people miss. Grab your can of compressed air and give each vent a few short bursts. Here’s a pro tip I discovered after years of trial and error: blast the canned air in at an angle, not straight on. This helps push the dust out rather than deeper into your laptop. And please, hold those fan blades still with a cotton swab while you are spraying – letting them spin freely from the air pressure can damage the bearings.
For those inevitable sticky spots or finger grease marks, now’s the time to use that alcohol-water mixture we prepared earlier. But here’s the real tech pro secret: apply the solution to your cloth until it’s just barely damp – if you can squeeze any excess liquid out of the cloth, it’s too wet. I once had a client whose “slightly damp” cloth dripped into their laptop’s USB port. Let’s just say that was an expensive lesson in what “barely damp” really means.
The Clean Laptop Screen Scene: Treating Your Display with TLC
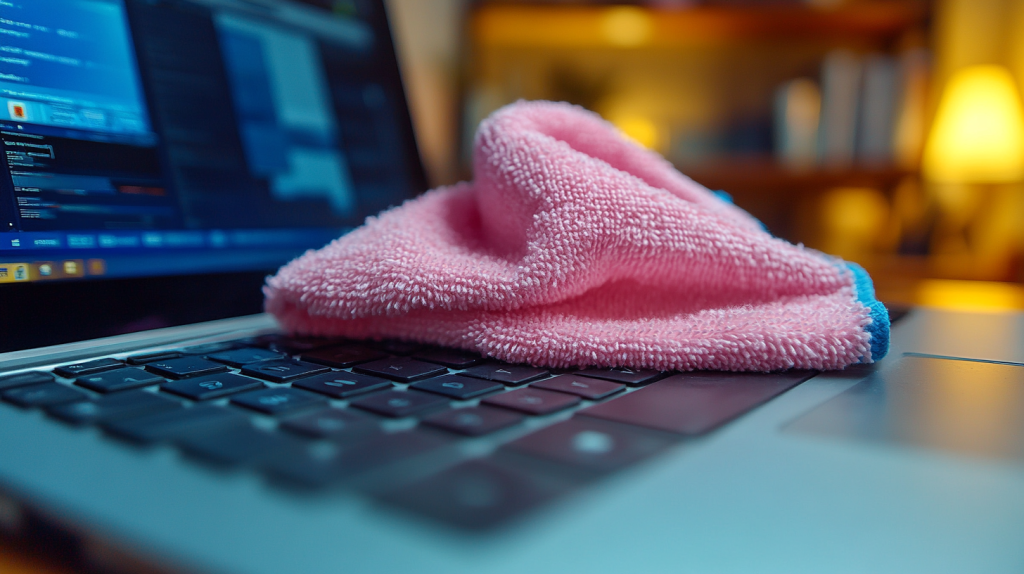
Your laptop screen is like a delicate piece of high-tech art. Those beautiful pixels need gentle care, not vigorous scrubbing like you’re washing dishes. Start with a completely dry, clean microfiber cloth – and I mean a dedicated screen-cleaning cloth, not the one you just used on the exterior. Wipe your screen gently once in a light, circular motion to remove any surface dirt or fingerprints.
Dealing with Stubborn Screen Spots
For those persistent marks, slightly dampen a corner of your microfiber cloth with distilled water. And when I say slightly, I mean barely moist – your cloth should feel like it just came out of the dryer, not like it took a swim. Work from the center of the screen outward in gentle circles, being especially careful near the edges where liquid could seep in and might damage internal components.
Here’s a pro tip I discovered after years of trial and error: If you’re dealing with really stubborn spots, resist the urge to use any kind of cleaning products and solutions, even if it’s labelled “screen cleaner.” I’ve seen too many displays damaged by harsh chemicals like aerosol sprays and those with hydrogen peroxide in them. Instead, use your slightly dampened cloth and patience – multiple gentle passes are better than one forceful scrub. And please, for the love of all things tech, never press hard on your screen! Those pressure marks you see when you push on an LCD? They can become permanent if you’re not careful.
Keys to Success: Conquering Keyboard Grime
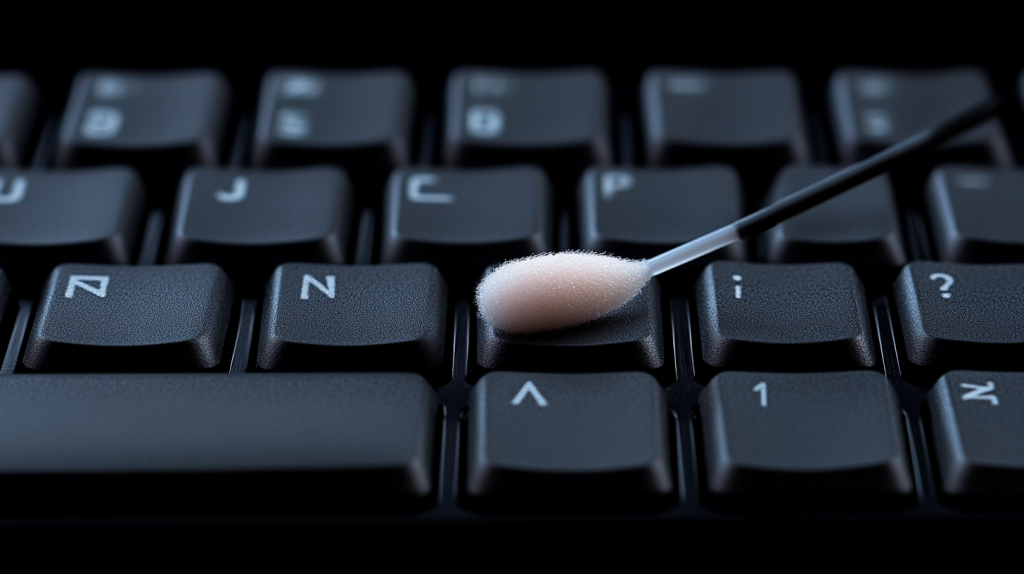
You wouldn’t believe what I’ve found in keyboards over the years. Just last week, I extracted enough crumbs from a client’s laptop keyboard to make a small sandwich! But the most memorable was finding a perfectly preserved M&M under the spacebar – it had been there so long, the letter had worn off. Trust me, your keyboard is probably hiding more than you think.
Start by holding your laptop at a 75-degree angle (think slightly less than perpendicular to your desk) and give it a few gentle taps on the bottom. You’d be amazed what falls out! Now, grab that canned air – but here’s the crucial part that most people miss: use short bursts at an angle, never straight down into the keys.
Clean Laptop: Deep Dive Between the Keys

Here’s where cotton swabs become your best friends. Slightly dampen a cotton swab with your isopropyl or rubbing alcohol mixture and gently clean around each key. That shiny buildup on frequently used keys? That’s a combination of oil from your fingers and dust – pretty gross when you think about it! I usually tackle this in a Z pattern, starting from the top left and working my way across and down.
For those really stubborn spots between the keys, here’s a pro trick I discovered: wrap a microfiber cloth around a plastic card (like an old credit card), dampen it slightly with your cleaning solution, and gently slide it between the rows of keys. Just be careful not to catch any key edges – we don’t want any pop-off surprises! And please, resist the urge to remove individual keys unless you really know what you’re doing. I’ve got a whole drawer full of “orphaned” keycaps from people who thought they could just pop them back on.
For more information on how to clean your laptop keyboard, read HERE.
Under the Hood: Tackling Those Internal Components
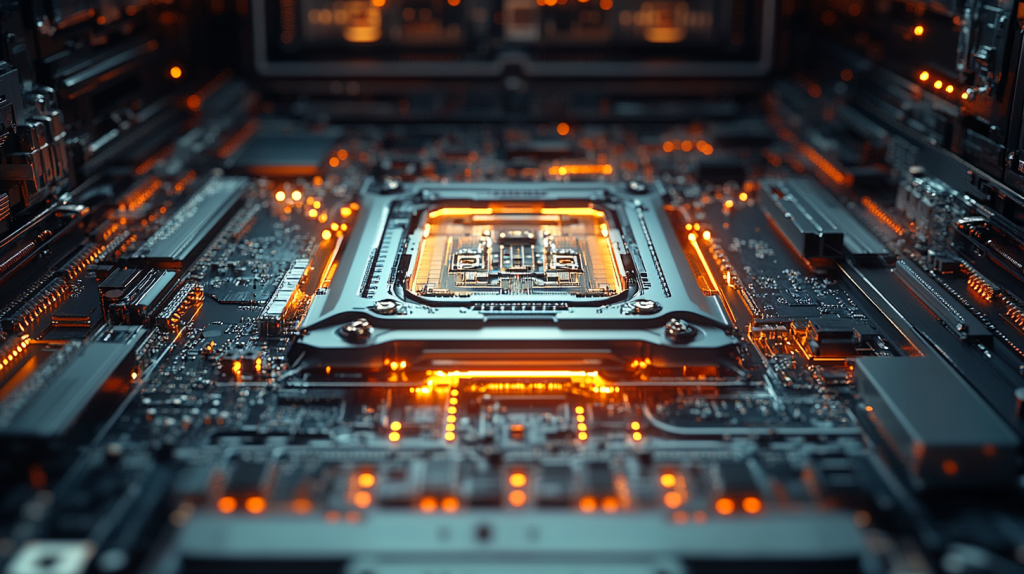
Warning: This section is strictly for the brave-hearted or those comfortable with tech. If you’re not confident about opening your laptop, please skip to our maintenance tips or contact a professional for further assistance!
Before you even think about opening your laptop, make sure you’ve got the right tools and knowledge. We’re talking small screwdrivers (usually Phillips head #00 or #000), proper lighting, and most importantly, a way to keep track of those tiny screws. Pro tip: take photos of each step as you disassemble – future you will thank past you when it’s time to put everything back together.
Fan and Heatsink Cleaning
Once you’re inside, focus on the cooling system first. That’s typically where most performance-killing dust accumulates. Use your compressed air in short, controlled bursts, holding any fans still with a cotton swab (letting them spin freely can damage the bearings). A word of caution from someone who learned the hard way: never use a vacuum cleaner on internal components. The static electricity generated can fry your motherboard faster than you can imagine.
I’ve developed a specific technique for cleaning heatsinks: alternate between gentle compressed air bursts and careful cleaning with a soft brush. Sometimes the dust gets so compacted it forms a kind of felt-like material that air alone won’t budge. Just remember – be gentle. These components are delicate, and one overzealous moment can lead to an expensive repair bill.
Preventive Care: Your Laptop’s Best Friend
Let me share something I’ve noticed after servicing thousands of laptops: the ones that come in for regular maintenance tend to last years longer than those that only show up when there’s a problem. It’s like dental care – a little prevention goes a long way! I’ll never forget the client who kept their laptop in pristine condition for six years by following a simple cleaning routine, while their colleague went through three laptops in the same timeframe.
Creating a cleaning schedule might sound like overkill, but trust me, it’s a game-changer. I recommend a quick external wipe-down weekly, a thorough keyboard and screen cleaning monthly, and if you’re comfortable with it, an internal cleaning every 6-12 months depending on your environment. Pet owners and smokers, you might want to bump up that frequency – I once cleaned a laptop from a home with three cats, and let’s just say the dust bunnies had formed their own civilization in there!
Smart Everyday Habits for a Clean Laptop
Here’s something most people don’t think about: your laptop’s worst enemies are often everyday habits. I cringe every time I see someone eating a sandwich over their keyboard. Consider investing in a good laptop sleeve or case – think of it as a raincoat for your tech. And please, keep your coffee at a safe distance! I’ve seen too many sticky keyboard casualties in my time.
One often-overlooked tip: clean your hands before using your laptop. Those natural oils from your fingers? They’re great for your skin but terrible for your keyboard and touchpad. They create a sticky residue that attracts dust and debris and can eventually lead to key stickiness. I keep a small bottle of hand sanitizer at my desk – it’s become second nature to give my hands a quick clean before typing, and my laptop’s keyboard still looks almost new after years of use.
Laptop Cleaning Questions – Answered!
After years of hands-on experience, I can tell you the best approach is systematic and gentle. Start with external surfaces using a dry microfiber cloth, then move to compressed air for vents and keyboards, and finally tackle any stubborn spots with a properly diluted isopropyl alcohol solution. Never spray liquids directly on your device – always apply cleaning solutions to your cloth first. I’ve seen too many “water damage” repairs that started as innocent cleaning attempts!
Absolutely! I once cleaned a laptop that was running like a tortoise in molasses, and the performance improvement was dramatic. Here’s why: dust and debris can clog your laptop’s cooling system, forcing it to throttle performance to prevent overheating. A clean laptop means better airflow, which equals better performance. Just last month, I cleaned a laptop that was running 20°C cooler after a proper cleaning session!
Here’s the straight answer: plain water is never your best choice. Distilled water mixed with isopropyl or rubbing alcohol? That’s different. The alcohol helps the water evaporate quickly and safely. But please, no tap water – those minerals can leave residue or cause corrosion. I still remember the client who thought using bottled water was “safer” than a cleaning product… that laptop didn’t survive the experience.
Not all alcohol wipes are created equal! If you’re using them, make sure they’re at least 90% isopropyl alcohol and not too wet. Those convenient pre-moistened wipes from the drugstore? They often contain other chemicals that can damage your laptop’s finish. I’ve seen too many cloudy screens and sticky residues from inappropriate wipes. When in doubt, stick to our diluted isopropyl alcohol mixture applied with a microfiber cloth.
Whether your laptop needs a deep clean, a fresh start, or full repairs, our friendly Sydney techs can help bring it back to life. Get expert service that keeps your device running like new.
Learn About Our Laptop Repair ServicesThe Final Word: Keep It Clean, Keep It Running
After spending over a decade elbow-deep in laptop cleaning, I can tell you with absolute certainty that a clean laptop is a happy laptop.
Remember, the cleaning techniques we’ve covered aren’t just about aesthetics. That dust bunny colony living in your laptop’s vents? It’s slowly cooking your processor. Those mysterious keyboard crumbs? They’re waiting to jam a key at the worst possible moment. And that fingerprint-covered screen isn’t just unsightly – it’s actually making your eyes work harder than they need to.
A Personal Note from Your Tech Pro
Here’s something I wish more people knew: you don’t have to be a tech wizard to keep your laptop in great shape. Start small with regular exterior cleaning, work your way up to keyboard and screen maintenance, and don’t be afraid to seek professional help for those deeper cleans. The most expensive repair I ever handled started with someone being too shy to ask for help with basic laptop care.
Keep this guide handy, stick to the cleaning schedule we discussed, and you’ll be amazed at how much longer your laptop lasts. And hey, if you ever feel uncertain about any cleaning step, or if you encounter something that seems out of your comfort zone, don’t hesitate to reach out to us at Nimble Nerds. We’re here to help, and trust me – we’ve seen it all!


