Is your laptop keyboard looking a bit grimy? You’re not alone! A recent study found that the average keyboard harbors 20,000 times more bacteria than a toilet seat. Yikes! 😱 But don’t worry, we’ve got you covered. We’ll help you how to clean your laptop keyboard and more! At Nimble Nerds, we’re all about making tech maintenance a breeze.
If you’re in Sydney and struggling with laptop issues — physical damage, performance slowdowns, or something just not working — we’re here to help. Our technicians can repair, upgrade, or optimise your device without the jargon.
Visit Our Laptop Repairs Service PageThe Hidden World Under Your Keys

Imagine you’re working late, focused on a project on your laptop screen, and you grab a snack and a drink to power through. You place your coffee cup a bit too close to the keyboard, and, with one small elbow bump, it tips over, and now you spill liquid between the keys. Panic sets in as you gently wipe and quickly try to blot up the coffee, but moisture and all the crumbs from your snack have already found their way beneath the keys. This combination of liquid inside and crumbs can create a sticky mess, causing certain keys to stick or become unresponsive. Not only does this make typing difficult, but it also risks short-circuiting the keyboard if the liquid seeps into sensitive electrical components. Keeping food and drinks away from your workspace and regularly cleaning your keyboard can help prevent accidents like these and keep your keys clean.
After fifteen years of tech support, I’ve seen it all when it comes to keyboard disasters. Just last week, I had a client bring in their laptop because their keys were “a bit sticky.” What we discovered under UV light would make a microbiologist faint – colonies of bacteria thriving in a jungle of coffee residue and lunch crumbs. It’s a common story I see play out daily in our repair shop.
Here’s the thing about computer and laptop keyboard maintenance that most people don’t realize: those crumbs aren’t just sitting there harmlessly. They’re actively working against your laptop’s performance, gradually grinding away at the delicate mechanisms under each key. I’ve had to replace entire laptop key because regular maintenance might have saved them, but instead, they became a petri dish of problems.
When it comes to defending and removing smudges and other debris on your laptop keyboard, here are the basics every laptop and computer owner should know:
- Start with daily quick cleans using compressed air
- Keep drinks in closed containers
- Clean hands before typing sessions
Quick Daily Defense Against Debris
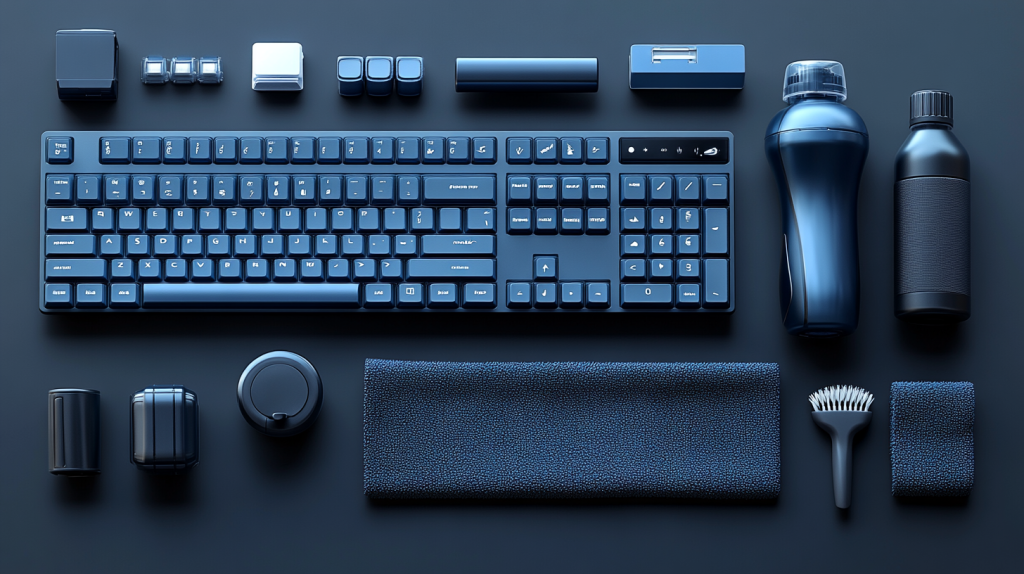
Listen, I get it- finding time for laptop maintenance isn’t exactly high on anyone’s priority list. But after spending countless hours resurrecting keyboards and removing stubborn grimey spots that could have been saved by simple daily habits, I’ve learned that five minutes of prevention beats five hours of desperate cleaning any day.
The secret to keyboard longevity isn’t in those expensive cleaning products and kits that gather dust under your desk. It’s in developing a quick daily routine that becomes as natural as your morning coffee. Speaking of coffee, you wouldn’t believe how many emergency calls I’ve gotten about liquid-related keyboard disasters that could have been prevented with basic maintenance.
For my clients who want to keep their laptops running smoothly, I recommend this simple end-of-day “clean your laptop keyboard” routine:
- Hold your laptop at a 75-degree angle (powered off!)
- Give it a gentle tap to dislodge debris
- Follow up with a quick compressed air sweep or soft brush
Here are some simple steps you can follow to remove dust, stubborn dirt, pet hair, and other unwanted debris stuck in your keyboard. But, quick reminder, make sure to turn off your battery immediately and unplug the power cord once spills and liquid get inside your keyboard before you start working on it!
Lint free cloth and cotton swab
Use a lint free cloth or a lightly damp microfiber cloth with isopropyl or rubbing alcohol and very gently tap and carefully wipe down each key. You can also use a cotton swab dipped in alcohol and use it to wipe underneath and clean any hard-to-reach areas. Be careful in using the cotton swab and make sure to avoid pushing debris further inside your keyboard.
Flip your laptop upside-down and shake it
This should remove any large crumbs or dust balls on your laptop keys keyboard. To make cleanup easier, it’s a good idea to use a paper towel or trash can to collect the dirt.
Use compressed air to clean out loose debris

Compressed air can help in blowing out anything that is stuck in the keys and inside the tiny spaces. To start, spray the air in a zigzag pattern across the keyboard, rotate it, and repeat the process until you’ve done all four sides of the keys. Pro tip: don’t spray the air directly under the keys, to avoid damaging any inner workings of the keyboard.
Use a soft-bristled brush to wipe and clean loose debris from between the keys of your laptop
Keep the laptop upside down if possible and avoid dragging debris under keys. Try the OXO brushes and the entire combination.
Deep Cleaning Mastery
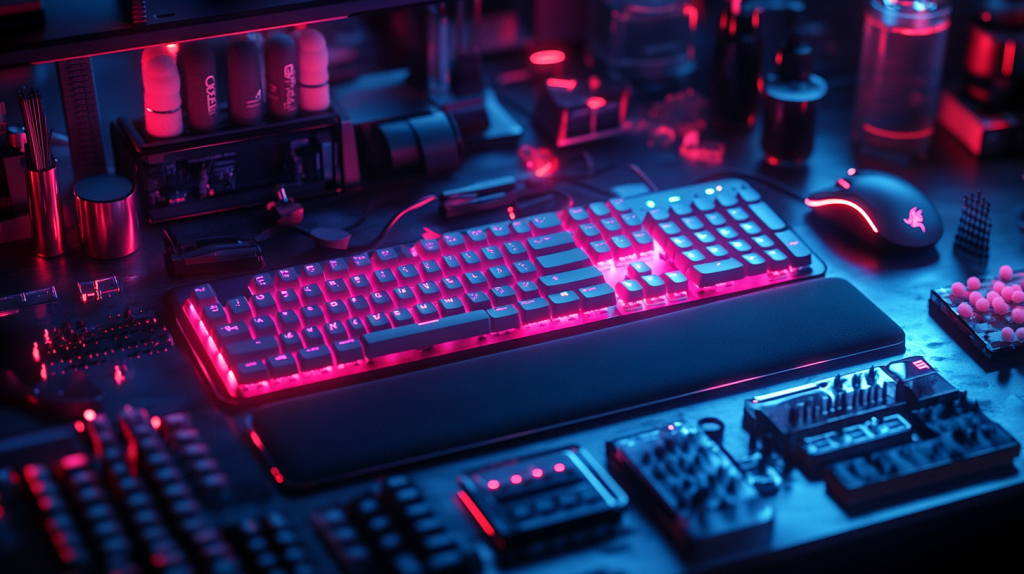
You know that satisfying feeling when you detail-clean your car? That’s the same satisfaction I get from a proper keyboard deep clean. After rescuing thousands of laptops from everything from sticky soda residue to mysterious gunk (trust me, you don’t want to know), I’ve perfected a method to clean your laptop keyboard that works wonders without risking damage to your precious tech.
Before you dive in, gather your cleaning arsenal: isopropyl alcohol (70% or higher), lint-free microfiber cloths, cotton swabs, and compressed air. Think of these as your keyboard first-aid kit – each tool has its specific purpose in the cleaning process.
The most crucial step – and I can’t stress this enough – is powering down completely. I’ve seen too many liquid damage repairs that started as innocent cleaning attempts. Once you’re properly shut down and unplugged, start with compressed air to remove loose debris, then move on to detailed cleaning with alcohol-dampened (not soaked!) cloths and swabs.
How to Clean a Laptop Keyboard: Deep Cleaning for Mechanical Keyboards

If you have a mechanical keyboard and want to make sure it is clean, consider removing the keycaps for a deep clean:
- Use a keycap puller: Using a keycap puller or a flat tool like a butter knife, gently pry upwards to carefully remove the keycaps one by one. Be careful in doing this because even if the keys are removable, small plastic tabs that attach them to the laptop are oftentimes delicate and can break easily. Make sure to take a picture of your keyboard layout first so you can replace the keys correctly.
- Soak the keycaps: Place the keycaps in warm, soapy water and let them soak for 15–20 minutes, but be sure not to use any harsh chemicals as this can damage the coating of your keys. If any stubborn grimey spots remain, you can also use disinfecting wipes to clean the keys one by one. Afterwards, rinse thoroughly and let them air dry completely to prevent moisture from accumulating inside before reattaching them.
- Clean the switches: While the keycaps are off, use compressed air and a soft paintbrush to clean around the switches.
Advanced Rescue Operations
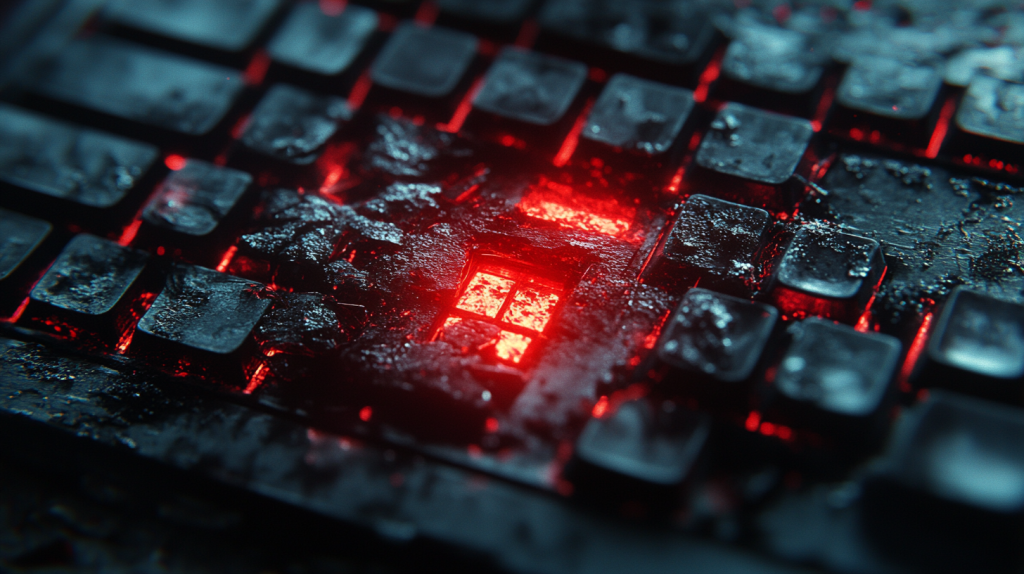
Sometimes basic cleaning just won’t cut it. I remember one particularly memorable repair where a graphic designer came in panicking about her unresponsive keys. The culprit? Three years of coffee drips that had created a sticky masterpiece under her keyboard. These situations require special attention and technique.
For stubborn, sticky situations that resist normal cleaning methods, you might need to venture into key removal territory. However – and this is vital – not all laptop keyboards are designed for key removal. Before you start prying at those keys, check your laptop’s manual, do online search, or contact a professional. I’ve seen too many broken key mechanisms from well-intentioned but misguided DIY attempts.
Preventive Wisdom Worth Gold
Keyboard Cleaning Schedule Calculator
Recommended Cleaning Schedule:
The best keyboard cleaning advice I’ve given in my career isn’t about cleaning at all – it’s about prevention. After seeing every possible keyboard disaster scenario (including one memorable incident involving a full smoothie and a deadline-critical presentation), I’ve developed some foolproof prevention strategies.
Investing in a quality keyboard cover might seem unnecessary until you consider that it costs about one-tenth of a keyboard replacement. Keep your drinks in spill-proof containers, and make it a habit to always clean your laptop as you go rather than waiting for problems to develop.
Tips for Keeping Your Keyboard Clean
To minimize how often you need to clean your keyboard, follow these tips:
- Avoid eating near your computer: Food particles can easily get trapped under the keys.
- Wash and wipe your hands before typing: This reduces the transfer of oils, dirt, and dust onto the keyboard.
- Use a keyboard cover: For extra protection, consider using a silicone keyboard cover to block debris.
- Clean regularly: Wipe down your keyboard weekly and do a more thorough cleaning every few months.
If you’re in Sydney and struggling with laptop issues — physical damage, performance slowdowns, or something just not working — we’re here to help. Our technicians can repair, upgrade, or optimise your device without the jargon.
Visit Our Laptop Repairs Service PageWhen to Wave the White Flag

Even tech experts know when to call for backup. Just last month, I had a client attempt their own deep clean on a high-end gaming laptop. By the time they brought it in, what started as a simple cleaning job had turned into a full keyboard replacement. Sometimes, knowing when to seek help is the smartest move you can make.
Watch for warning signs like multiple key failures, unusual electrical behavior, or liquid damage indicators. If you’re seeing these issues, or if your cleaning attempts aren’t solving the problem, it’s time to consult a professional. At Nimble Nerds, we’d rather talk you through proper cleaning techniques than have to replace your keyboard entirely.
FAQ
Yes, but use 70% isopropyl alcohol wipes and never let liquid pool. Always wring out excess moisture first.
It depends on your model. Some laptops have removable keys, while others don’t. Always check your manual or contact a professional first.
Use a slightly damp microfiber cloth with isopropyl alcohol. Never scrub – gentle circular motions are key.
Only use electronics-specific disinfecting wipes. Regular wet wipes contain too much moisture and harmful chemicals.
Remember, a clean keyboard is a happy keyboard! And if you’re ever in doubt, we’re just a call away at Nimble Nerds. We’d rather walk you through the process than see you in our repair shop with a preventable issue!


