Transferring files from your phone to your laptop doesn’t need to be complicated! Whether you’re looking to move photos, videos, or documents, there’s a method that fits your needs.
Not sure which method to use? Answer these quick questions to find the best file transfer method for your needs:
File Transfer Method Finder
What type of phone do you have?
What’s your file size?
Do you have internet access?
Recommended Method:
Losing files? Running out of space? Whether you need help recovering lost data, setting up cloud storage, or just making sense of your digital clutter — we’ve got your back.
Explore Our Data Management ServicesUsing a USB Cable to Transfer Files from Phone to Laptop
If you're like me, you've probably reached for the trusty USB cable when you needed to transfer photos or files from your phone to your laptop. It’s hands down one of the fastest and most reliable ways to move your photos, documents, or any files you need. Plus, it works whether you’re using an Android or an iPhone.
Overview of File Transfer via USB Cable for Android and iPhone

First off, a USB cable gives you a direct connection between your phone and laptop, whether you're using Windows or macOS. For Android device users, it's usually as simple as connecting your phone, selecting “File Transfer” from the notification shade, and boom—your phone appears on your laptop just like a USB drive. iPhone users can do something similar, though they’ll need iTunes installed for certain file types, especially if they're running an older macOS version.
Step-by-Step Guide for Connecting Your Phone to Windows and macOS Devices
For Windows:
- Plug your phone into your PC with the USB cable.
- Unlock your phone and select the "File Transfer" mode (Android device) or trust the mobile device (iPhone).
- Open the File Explorer on Windows, navigate to your phone, and start dragging files to and from it.
For macOS:
- Use a USB cable to connect your phone to your Mac.
- Android users will need to install Android File Transfer if it’s not already there.
- After opening the app, your phone files will then be visible for transfer. Meanwhile, if you are an iPhone user, iTunes will open, allowing file transfer within the app.
Solving Common USB Connection Problems
Let’s face it—sometimes things don’t work as smoothly as they should when you transfer files. If your phone isn’t showing up on your computer, try using a different USB port or cable. Also, make sure your phone’s screen is unlocked, and if it’s an Android device, double-check that “File Transfer” is selected (sometimes it defaults to “Charging only”). Are you a Mac user? Well, don't forget about that Android File Transfer app!
Speed and Reliability of USB File Transfer
USB transfers are known for their speed and reliability—reaching, up to 5 Gbps with USB 3. Plus, there’s no need to worry about weak Wi-Fi signals or Bluetooth pairing issues. Just plug in and go!
How to Wirelessly Transfer Files from Phone to Laptop
Wireless transfers are one way for a clutter-free desktop- and that's what we want. No more cables and wires hanging around our work area that (sometimes) trip us. With all the different methods now available for wireless transfer of files from phone to laptop, say Bluetooth sharing, online tools or a file app, you can start today and enjoy the benefits as early as possible.
How to Transfer Files from Phone to Laptop Wirelessly
Wireless transfers drop files? Yep, a way for a clutter-free desk. And honestly, once you’ve got it set up, you’ll wonder why you even bothered with cables in the first place. There are various ways, such as Bluetooth or cloud services, to transfer your files from phone to laptop without plugging anything.
Ways on How to Transfer Files Wirelessly: Bluetooth, Wi-Fi, and Cloud Services

Bluetooth is handy for transfers of files, whereas methods reliant on Wi-Fi such as file-sharing applications or your home network are more efficient, for larger files. In addition, you’ve got cloud services like Google Drive, iCloud, and Dropbox, which let you share files easily between devices as long as you have an internet connection. You can approach your tasks based on what works perfectly for you.
How to Utilize Google Drive or iCloud for Sharing Files
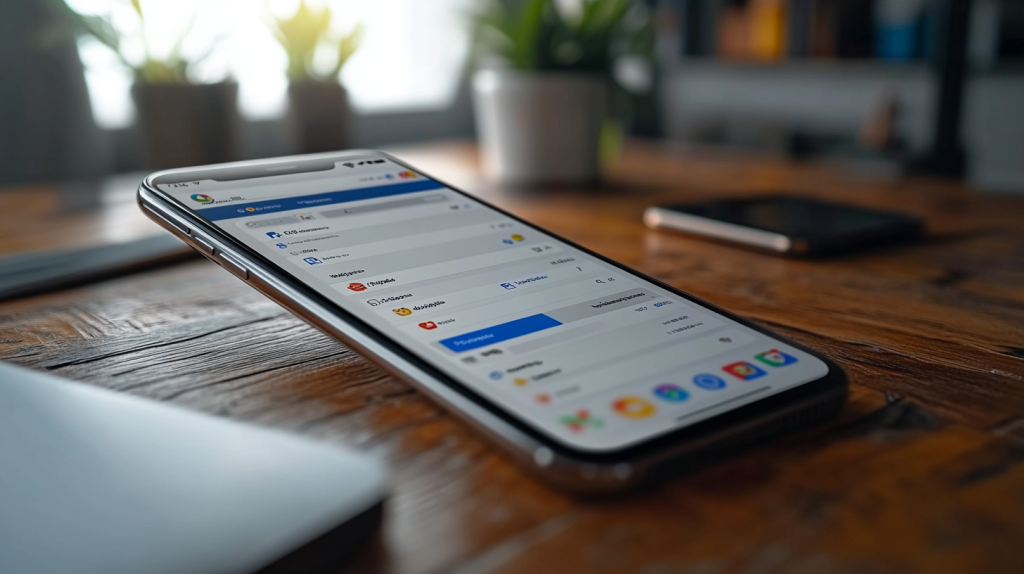
For those who use Google Drive:
- Open the Google Drive Application and tap the "+" icon.
- After adding and uploading the files, access the drive and save them onto your mobile device. Fast and easy!
When it comes to iCloud:
- Make sure that your files are safely stored in iCloud for purposes.
- You can view these files by logging in to iCloud.com on your laptop or opening the iCloud Drive app on your Mac.
Cloud services are fantastic because you don't have to worry about file sizes too much—though remember, they take up storage in your account, so you might need to clean up every now and then.
Guide for Sending Files via Bluetooth Step-by-Step
If you are using Bluetooth:
- Enable Bluetooth on your devices before starting.
- To send a file from your phone, choose the file, press "Share" and select Bluetooth as your means to transfer.
- Choose your laptop from the options. Agree to the file transfer on your device to witness its performance in action. While it may be slower compared to Wi-Fi when transferring a photo or a small document, it still manages to complete the task at hand.
Factors to Keep in Mind When Transferring Data Wirelessly, Such as Speed and File Size.
Let's talk about speed now! Bluetooth transfers are usually limited to smaller files—think photos or documents—because they can take forever if you’re moving something big like a video. On the other hand, Wi-Fi options offer quicker speeds to receive files, especially when both your phone and laptop are linked up to the same Wi-Fi network. In addition, the advantage of utilizing cloud services is that you can move anything you want despite of your transfer speed and how fast your internet connection is.
Using the Phone Link App for Seamless File Sharing (Windows Only)
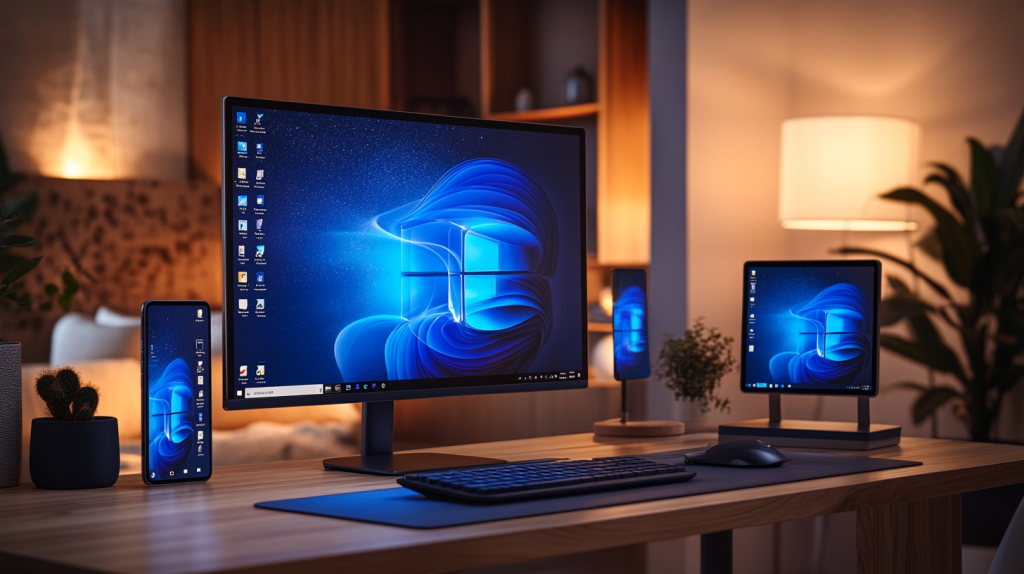
If you’re a Windows user with an Android phone, the Phone Link app (formerly known as "Your Phone") is an incredibly convenient tool for transferring files and more. It allows you to connect your Android phone to your Windows laptop wirelessly, enabling smooth file transfers and even lets you manage your phone notifications, messages, and photos right from your laptop. It's ideal if you find yourself moving files back and forth frequently.
Setting Up the Phone Link App for Your Android Phone
Setting up the Phone Link app is pretty simple and takes just a few minutes:
- On your Windows laptop, open the Phone Link app (it comes pre-installed on most Windows 10 and 11 PCs).
- On your Android phone, download and install the Link to Windows app from the Google Play Store (many Samsung devices already have it installed under Settings > Advanced Features).
- Open the apps on both devices and sign in using the same Microsoft account.
- Follow the pairing instructions to link your available devices via Wi-Fi.
Once set up, your phone and laptop will be linked whenever they're on the same network.
How to Transfer Files Using Phone Link Between Android and Windows
File sharing through the Phone Link app is as easy as dragging and dropping:
- On your Windows PC, open the Phone Link app and navigate to the Photos or Files tab in the sidebar.
- You’ll see your phone’s files displayed. Simply drag the file you want onto your desktop, or wherever you want it saved.
- If you want to transfer a file from your laptop to your phone, drag the file from your computer into the Phone Link window, and it will be sent to your Android device.
This eliminates the need for USB cables and makes file transfer feel almost instantaneous, especially for smaller files.
Troubleshooting Issues with Phone Link
Like any app, the Phone Link app can occasionally run into issues. Here are some quick troubleshooting tips:
- Check your Wi-Fi connection: Both your phone and laptop need to be connected to the same network. If one device is on mobile data, the connection won’t work.
- Restart the app: Sometimes simply closing and reopening the Phone Link app on both devices can resolve sync problems.
- Battery optimization: On your Android phone, make sure the Link to Windows app isn’t being restricted by battery optimization settings—this can interrupt the connection.
Advantages of Phone Link for Frequent File Transfers
The Phone Link app is perfect for those who regularly move their files between Android and their Windows devices. It offers a more integrated experience than traditional methods like USB or Bluetooth, plus it’s fast, especially for smaller files like documents and photos. The real advantage, though, is that it goes beyond file transfers—you can see notifications, send texts, and even take calls directly from your laptop, making it an all-in-one productivity tool.
Transferring Files via Cloud Services

If you’re looking for flexibility and convenience, cloud services like Google Drive, Dropbox, and OneDrive are fantastic options for transferring files from your phone to your laptop. These platforms let you upload files from one device and access them anywhere, as long as you’ve got an internet connection. The best part? You don’t need cables or even to be on the same Wi-Fi network—just a reliable internet connection and your account login.
Pros and Cons of Using Cloud Services for File Transfers
Using cloud services is really handy and all, it's true. But like any other thing, they have their perks and few downsides too. Take a look here:
Pros:
- Access files anywhere: Upload your files from your phone and retrieve them on your laptop—or any device—later.
- Backup protection: Cloud services offer protection by storing your files in the cloud to ensure your data is safe, in case something goes wrong with your phone or laptop.
- No file size limitations (with paid plans): Most cloud services let you upload very large files, especially if you’re on a premium plan.
Cons:
- Limited free storage: Google Drive has only 15GB of free storage for your Google services such as email and photos, while Dropbox only provides 2GB initially.
- Dependent on the Internet: Internet transfer can be a challenge especially when there is an issue with connection or you're offline.
- Privacy concerns: With the current data breach and leaks happening, privacy concerns arise. To avoid these privacy concerns, you will need to use encryption tools for added security.
How to Upload Files from Your Phone and Download Them to Your Laptop
The process is almost identical across platforms like Google Drive, Dropbox, and OneDrive:
- Upload Files from Your Phone:
- Open the cloud app (e.g., Google Drive, Dropbox, or OneDrive) on your phone.
- Tap the + icon or Upload option and select the files you want to transfer.
- Your files will start uploading to the cloud, and depending on your internet speed and file size, this may take a few seconds to several minutes.
2. Download Files to Your Laptop:
- On your laptop, open the same cloud service website or app (e.g., drive.google.com for Google Drive).
- Sign in with the same account you used on your phone.
- Find the uploaded file in your cloud storage, click to open it, and select Download to save it to your laptop.
This method is especially useful if you're transferring files between devices that aren't physically near each other.
Managing File Sizes and Storage Limits
Free storage plans on most cloud services can fill up fast, especially if you’re uploading videos or high-resolution photos. Google Drive offers 15 GB, OneDrive gives 5 GB, and Dropbox offers only 2 GB on free plans. If you hit your limit, you might need to either delete old files or upgrade to a paid plan for more storage.
To manage file sizes:
- Compress large files before uploading to reduce their size.
- Organize and delete files you no longer need to free up space.
- Be mindful of automatic backups (e.g., Google Photos syncing) that may fill up your cloud storage faster than expected.
Synchronizing Across Devices for Seamless File Access
One of the best features of cloud services is the ability to sync files across devices. As long as you’re signed into your cloud account on all your devices, the files you upload on other device will automatically appear on both your phone and laptop. For example, if you upload a file to Google Drive on your phone, it will be accessible on your laptop almost instantly, without needing to initiate a manual download.
This syncing makes cloud services a go-to option for users who work across multiple devices, send files, or want to ensure they always have their files available.
How to Transfer Files From Phone to Laptop Using SD Cards

If you lean towards a hands-on and dependable approach, opting for an SD card can be a great option, particularly when handling larger files such, as videos or numerous photos. It’s a bit more old-school compared to cloud services, but it’s fast, doesn’t depend on an internet connection, and works perfectly when you’re low on phone storage.
Step-by-Step Guide to Using SD Cards for Data Transfer
Here’s how to transfer files using an SD card:
- Put the SD card into your phone:
- If your phone is compatible with an SD card, usually, you usually insert it into a slot on the side or beneath the cover of the device to make sure of its placement and that the phone recognises it. Most Android phones will prompt you to either use the card as portable storage or internal storage—choose portable for easy transfer.
- Move Files to the SD Card:
- Open your phone’s Files or File Manager app.
- Head to the files you wish to transfer. Then pick them before selecting the "Move to SD card" option.
- You may have to wait as this could require some time depending on the file's size and quantity.
- Remember to eject the SD card before removing it:
- Before you eject the card from your phone, make sure to go into Settings > Storage and tap Unmount SD card. This ensures your data won’t get corrupted.
- Insert the SD Card into Your Laptop:
- If your laptop has an SD card slot, you can insert it directly. If it doesn’t, you’ll need a USB card reader—which you can easily find online or at electronics stores. Once inserted, your laptop should automatically recognize the card, and you’ll be able to view its contents in File Explorer (Windows) or Finder (Mac).
- Transfer Files from SD Card to Laptop:
- Open the SD card on your laptop, locate the files, and simply drag and drop them into the appropriate folder on your laptop. You can also do the reverse—moving files from your laptop to your phone by copying them onto the SD card.
Advantages of Using SD Cards for Larger Files
The biggest advantage of using an SD card is that it’s perfect for large files or bulk transfers. For instance, videos, high-res photos, or large apps can be moved easily and quickly and without the hassle of sluggish wireless connections or limited cloud storage.
Another benefit? No internet needed! Whether you're off the grid or dealing with slow speeds, an SD card will let you transfer files wherever you are.How great is that!
Compatible Devices and Necessary Adapters
Most Android phones support SD cards, but iPhones do not (unless you buy an external card reader). Some laptops come with built-in SD card slots, but many newer models don’t, so you may need a USB-to-SD adapter. These adapters are inexpensive and simple to use—just plug the SD card into the adapter, then connect it to your laptop’s USB port.
How to Safely Eject SD Cards to Avoid Data Corruption
One of the most important steps in using an SD card is to always eject it properly. Failing to do this can result in data corruption or even losing your files.
- On your phone, go to Settings > Storage and select Unmount SD card before removing it.
- On your laptop, right-click the SD card drive in File Explorer or Finder and choose Eject before physically removing the card.
Troubleshooting File Transfer Issues

We’ve all been there—you’re trying to transfer files, and nothing seems to work. Whether you're using a USB cable, Bluetooth, Wi-Fi, or an SD card, something can always go wrong. Luckily, most of these issues are easy to troubleshoot once you know where to look. Here are some common problems and solutions to get your transfers back on track.
Common Reasons Why File Transfers Fail
- Connection Issues:
- One of the biggest culprits is simply a bad connection—whether it’s a faulty USB cable, weak Bluetooth signal, or a spotty Wi-Fi network. Double-check your connections, cables, and make sure both devices are on the same network for Wi-Fi transfers.
- Storage Limitations:
- Sometimes, the issue could be that your phone or laptop has run out of storage. If either device is full, you won’t be able to transfer files until you clear up some space. Check available storage on both devices before initiating large file transfers.
- Unsupported File Formats:
- Certain file types may not be compatible between devices. For example, Windows might struggle to open certain iPhone file formats without specific software like iTunes. Make sure that both your phone and laptop can handle the file type you’re trying to transfer.
How to Fix Problems with USB Connections, Bluetooth Pairing, or Wi-Fi Sharing
- USB Connection Problems:
- Try another port: Sometimes a specific USB port may not work. Switch to another port on your laptop.
- Use a different cable: A faulty cable can cause intermittent connections, especially with older or heavily-used USB cables. Try using a different one.
- Unlock your phone: Both iPhones and Android devices often require that the phone be unlocked before it will allow file transfers over USB.
- Bluetooth Pairing Issues:
- Ensure Bluetooth is enabled on both devices.
- Make your phone visible to other devices in the Bluetooth settings.
- Repair the devices: Sometimes unpairing and then pairing again can easily solve your connectivity issues. Go to your Bluetooth settings on both devices, remove the pairing, and reconnect.
- Wi-Fi Sharing Problems:
- First, you have to make sure both gadgets are connected to the same Wi-Fi network as it's a common problem with wireless sharing applications.
- Restart the router: Try rebooting the router if your Wi-Fi is acting wonky; doing this can sometimes fix connectivity issues. Get things back on track smoothly.
- Make sure you're signed in to the email account, on both your devices when using cloud services and verify your internet connection.
Checking Proper Device Compatibility

Before you try transferring files, double-check that your devices are fully compatible with the method you’re using. For example:
- iPhones typically work best with macOS, while Androids play more nicely with Windows. If you’re trying to mix and match, you might need extra software, like Android File Transfer for macOS or iTunes for Windows.
- Bluetooth file transfer isn’t supported between all devices—certain Windows laptops may not fully support it with iPhones, for instance.
Checking for Software Updates to Avoid Transfer Issues
Outdated software can wreak havoc on your file transfers. Sometimes, a quick software update on your phone or laptop can resolve lingering issues:
- Update your phone’s operating system: Check for updates in Settings > System Updates (Android) or Settings > General > Software Update (iPhone).
- Update your laptop's OS: Whether you’re on Windows or macOS, keeping your operating system up to date ensures smooth compatibility with phones and transfer methods.
- Also, make sure the apps you’re using for transfers (like Google Drive or Phone Link) are updated to their latest version.
Now that you’re equipped with multiple ways to transfer files from your phone to laptop, you can choose the method that works best for your needs! Whether it’s the reliability of a USB cable, the convenience of wireless methods like Bluetooth or Wi-Fi, or the seamlessness of cloud services, there's an option for every situation. For those who frequently transfer larger files, SD cards offer a great solution, and if you’re using a Windows PC with an Android phone, the Phone Link app can be a game-changer.
No matter what method you choose, Nimble Nerds is always here to help if things don’t go as smoothly as you’d like. Our technicians can troubleshoot issues, suggest the best tools for your devices, and guide you through any process step-by-step. Don’t hesitate to give us a call—we’re just 30 minutes away from making your tech life a lot easier!

Losing files? Running out of space? Whether you need help recovering lost data, setting up cloud storage, or just making sense of your digital clutter — we’ve got your back.
Explore Our Data Management Services


